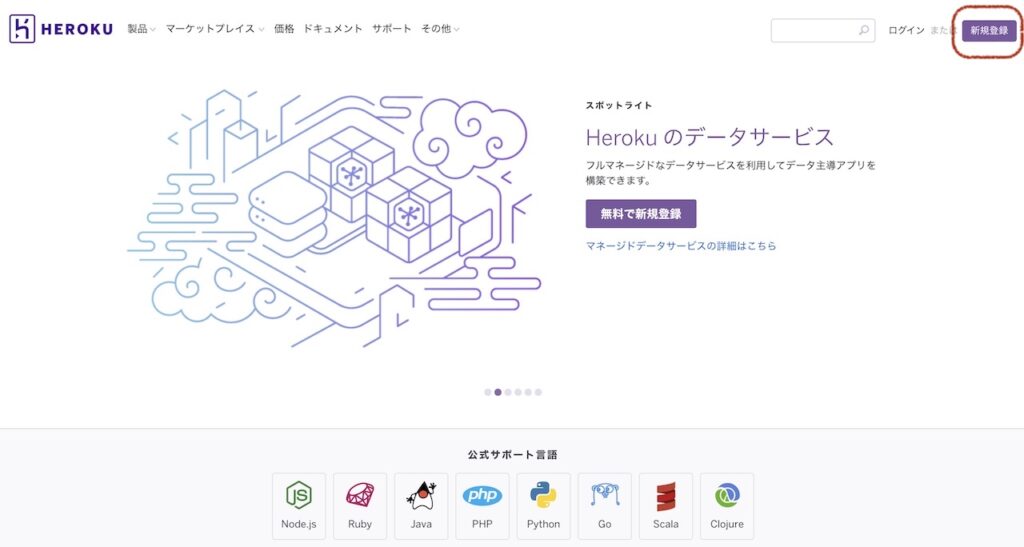
Heroku | Cloud Application PlatformExperience fully managed app hosting that just works. Build, deploy, and scale on the battle-tested platform that defines the industry.
STEP
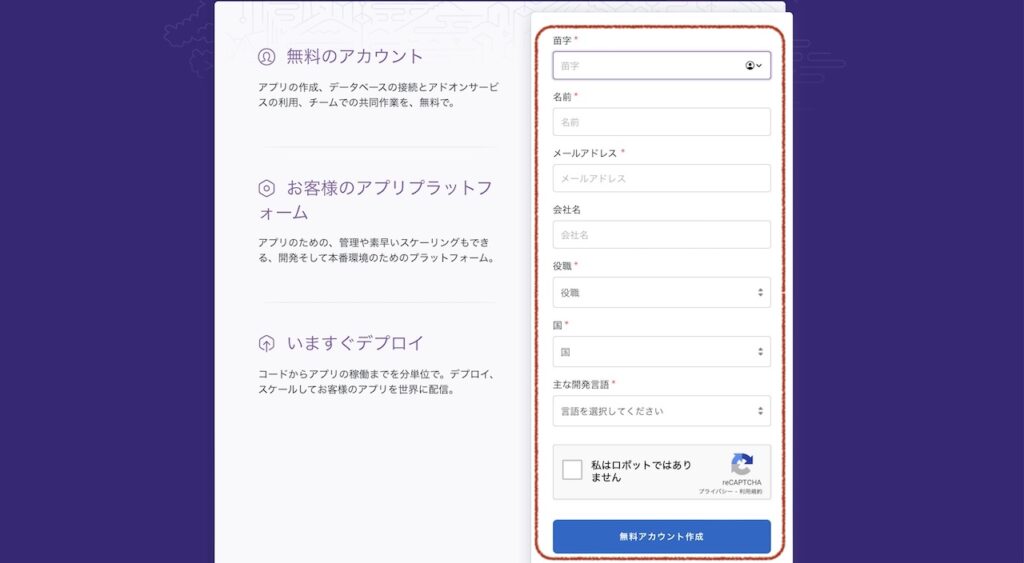
必要項目を入力し、「無料アカウント作成」をクリック
STEP
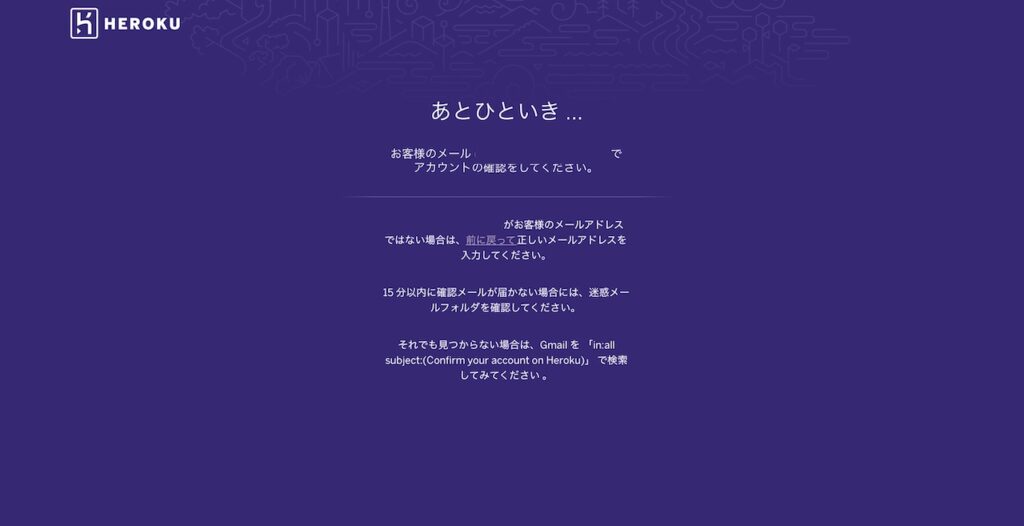
メールが来るのを待つ
STEP
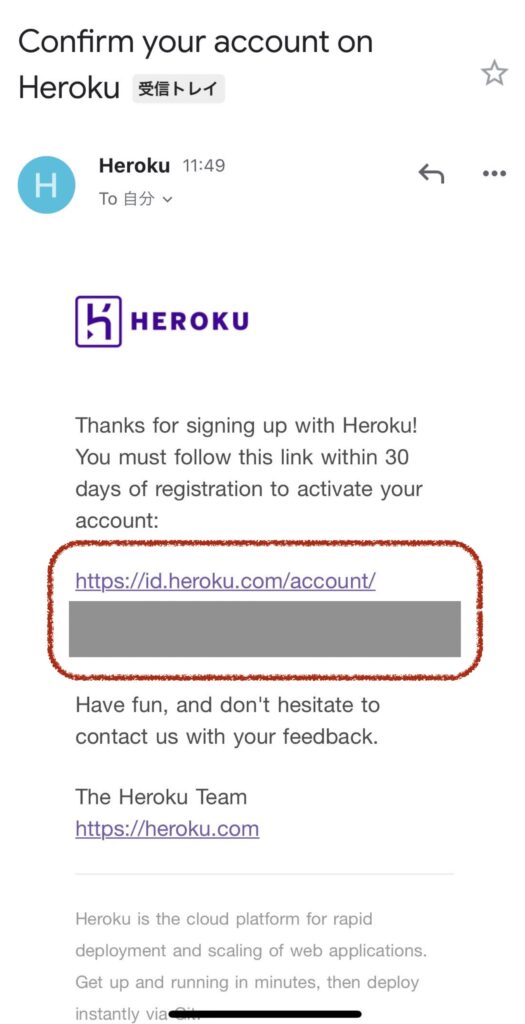
メールに記載されたURLをクリックしてアカウントをアクティベートする
STEP
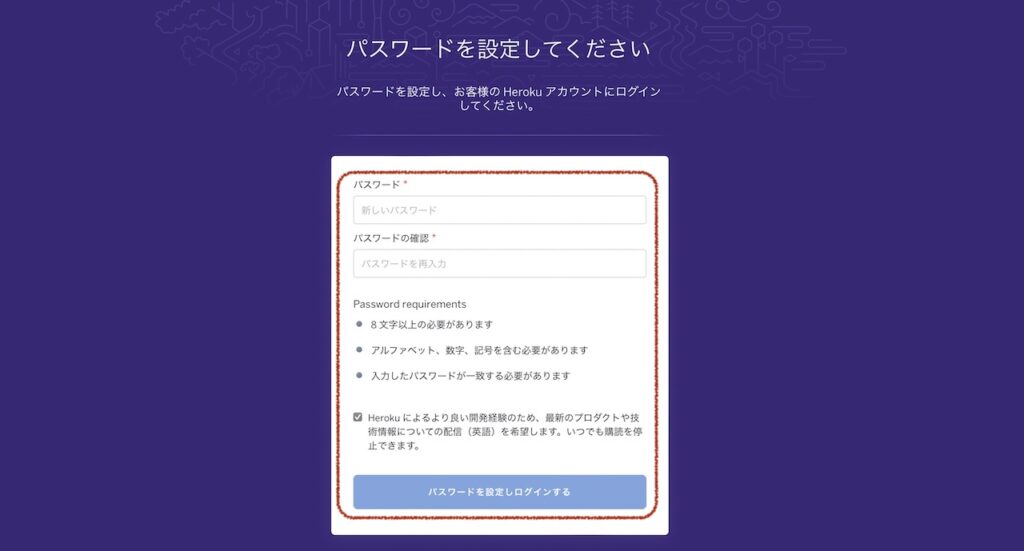
ログインパスワードを設定する
STEP
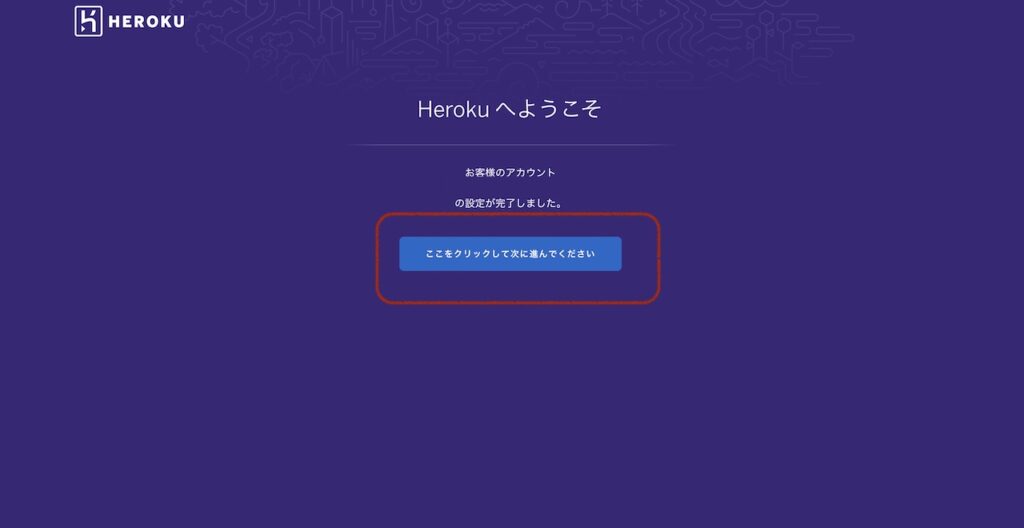
次へ進む
STEP
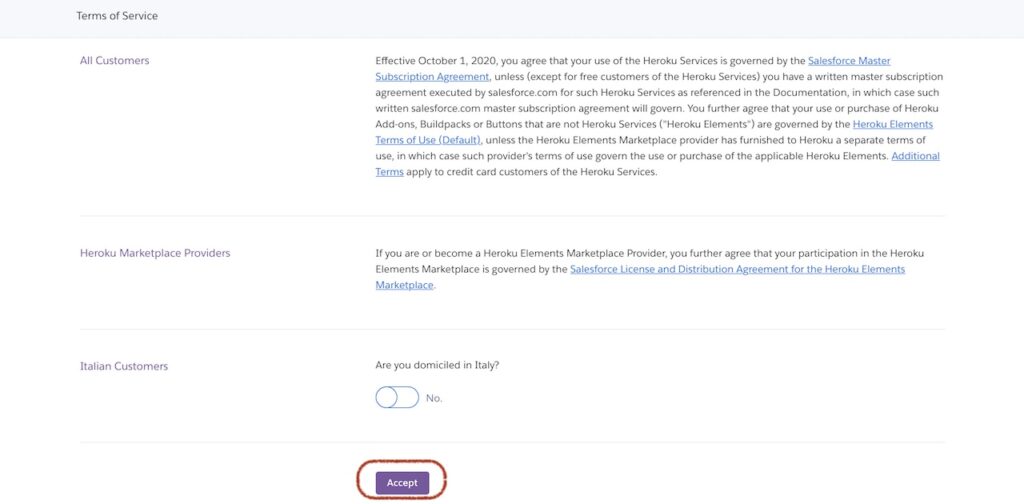
規約を確認して、「Accept」をクリック
STEP
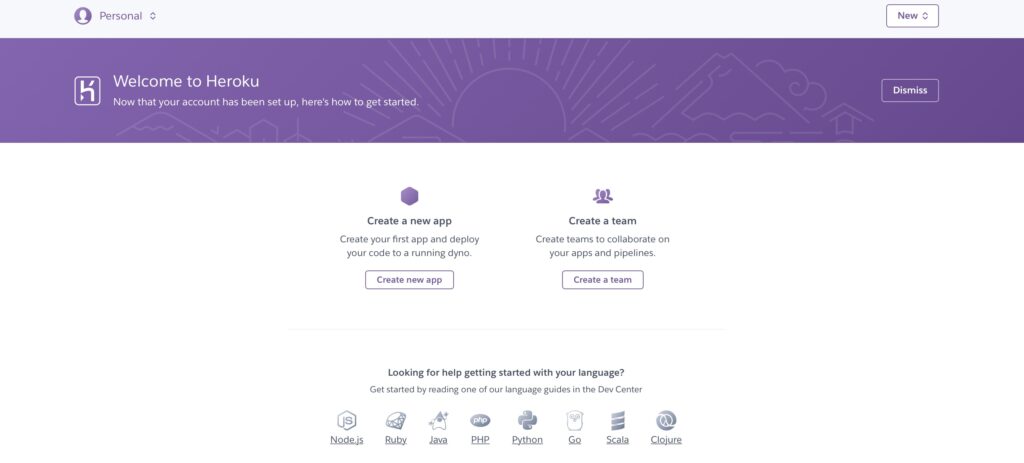
できました!
STEP
2段階認証を設定する
以下の手順で2段階認証を有効化できます。
右上のアイコンをクリック
「Account settings」をクリック
「Manage Multi-Factor Authentication」をクリック
お好みの認証方法を選び、設定する
定番は「ワンタイムパスワードジェネレータ」ですね
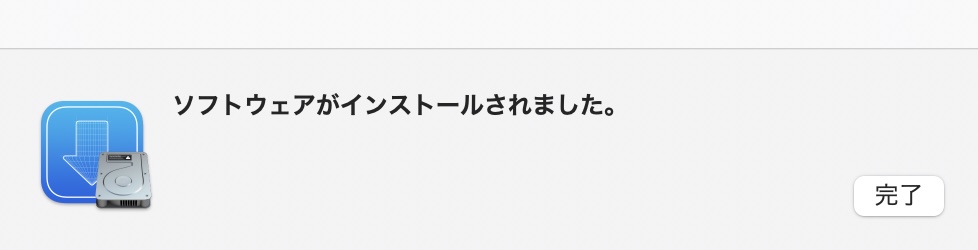
スムーズにアカウントを作ることができました。
Gitの準備
自分のmacでGitを使えるように準備します。
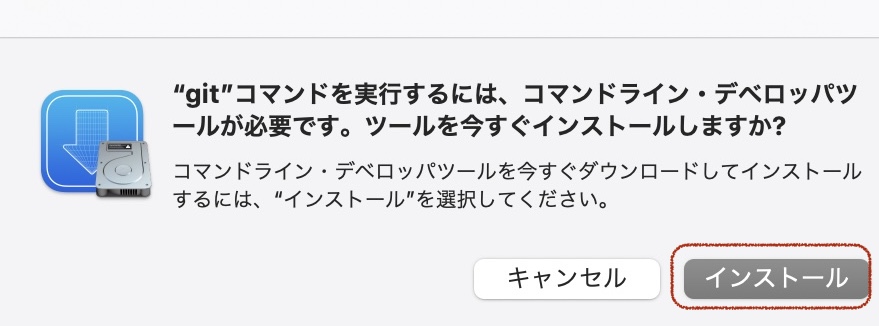
STEP
gitコマンドを実行してみる
git --version
早速エラーが出ました。
git: error: couldn't stat Xcode's Info.plist (errno=No such file or directory)
Error loading required libraries. If there is an ongoing installation please wait for it to complete. Otherwise reinstall. (dlopen(@rpath/libxcodebuildLoader.dylib, 0x0001): tried: '/usr/lib/swift/libxcodebuildLoader.dylib' (no such file), '/Applications/Xcode.app/Contents/Developer/usr/bin/libxcodebuildLoader.dylib' (no such file), '/Applications/Xcode.app/Contents/Developer/usr/bin/../../../Frameworks/libxcodebuildLoader.dylib' (no such file), '/Applications/Xcode.app/Contents/Developer/usr/bin/../../../SharedFrameworks/libxcodebuildLoader.dylib' (no such file), '/Applications/Xcode.app/Contents/Developer/usr/bin/../../../PlugIns/libxcodebuildLoader.dylib' (no such file), '/Library/Developer/PrivateFrameworks/CoreDevice.framework/Frameworks/libxcodebuildLoader.dylib' (no such file), '/usr/lib/swift/libxcodebuildLoader.dylib' (no such file), '/Applications/Xcode.app/Contents/Developer/usr/bin/libxcodebuildLoader.dylib' (no such file), '/Applications/Xcode.app/Contents/Developer/usr/bin/../../../Frameworks/libxcodebuildLoader.dylib' (no such file), '/Applications/Xcode.app/Contents/Developer/usr/bin/../../../SharedFrameworks/libxcodebuildLoader.dylib' (no such file), '/Applications/Xcode.app/Contents/Developer/usr/bin/../../../PlugIns/libxcodebuildLoader.dylib' (no such file), '/Library/Developer/PrivateFrameworks/CoreDevice.framework/Frameworks/libxcodebuildLoader.dylib' (no such file))
You can upgrade it with brew upgrade
or list it with brew outdated.
Error: Failed to import: /usr/local/Homebrew/Library/Taps/homebrew/homebrew-core/Formula/m4.rb
m4: undefined method `cellar' for #<BottleSpecification:0x0000000127c96198>
Error: Failed to import: /usr/local/Homebrew/Library/Taps/homebrew/homebrew-core/Formula/minimesos.rb
minimesos: wrong number of arguments (given 1, expected 0)
Error: Failed to import: /usr/local/Homebrew/Library/Taps/homebrew/homebrew-core/Formula/libbdplus.
以下略。
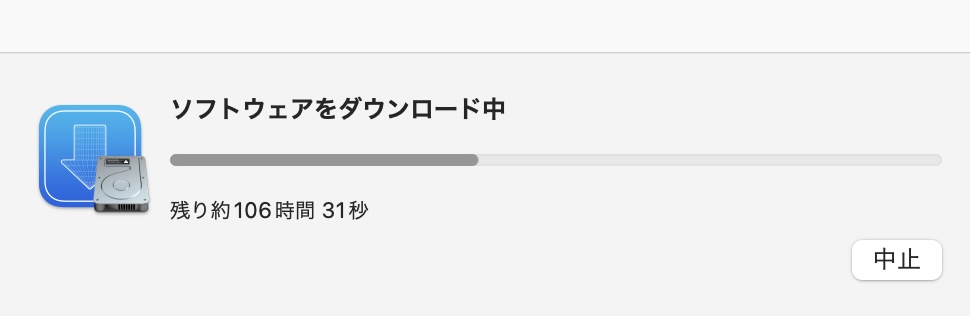
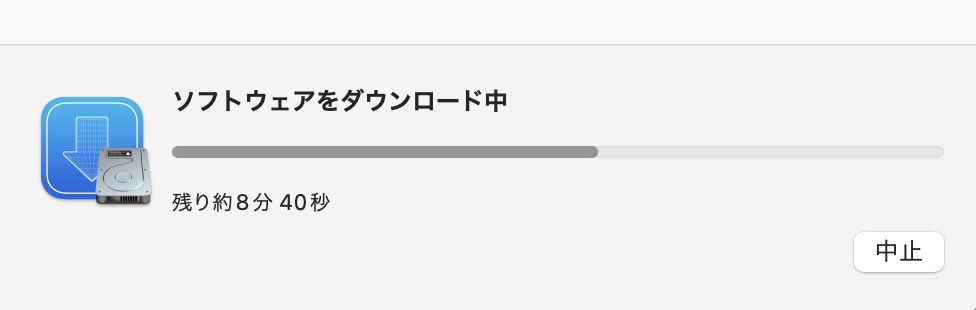
からの大量のエラー!😂 かなり長いこと待ってたんですけどね。。。
STEP
brew updateを試みる
HomebrewのUpdateでコケているので、以下のコマンドを試みます。
brew update
今度はすぐにエラーが表示されました
Error:
  homebrew-core is a shallow clone.
To `brew update`, first run:
  git -C /usr/local/Homebrew/Library/Taps/homebrew/homebrew-core fetch --unshallow
This command may take a few minutes to run due to the large size of the repository.
This restriction has been made on GitHub's request because updating shallow
clones is an extremely expensive operation due to the tree layout and traffic of
Homebrew/homebrew-core and Homebrew/homebrew-cask. We don't do this for you
automatically to avoid repeatedly performing an expensive unshallow operation in
CI systems (which should instead be fixed to not use shallow clones). Sorry for
the inconvenience!
  % Total    % Received % Xferd  Average Speed   Time    Time     Time  Current
                                 Dload  Upload   Total   Spent    Left  Speed
  0     0    0     0    0     0      0      0 --:--:-- --:--:-- --:--:--     0
100 2850k  100 2850k    0     0  1704k      0  0:00:01  0:00:01 --:--:-- 2474k