
当サイトでは実際に購入した商品のみをレビューし、アフェリエイトリンク付きでご紹介しています
【WPプラグイン】Google Driveへ定期バックアップ【UpdraftPlus】

永遠に壊れない機械はなく、まったくミスをしない人間はいません。
万が一に備えて、WordPressの定期バックアップを設定します。
エンジニアとして十数年働いて、何度も感じることがあります。
バックアップは、命綱です。
WordPressの定期バックアップは、プラグインでカンタンにを実現できます。大事なデータを守るため、バックアップを設定しましょう。
この記事でわかること
- WordPressのバックアップを取る方法
- UpdraftPlus WordPress Backup Pluginの使い方
目次
バックアップをする理由とは?

なんのために、バックアップするのでしょう?
データが壊れてしまったときに、復元できるようにするためです。
たとえば、以下のようなケースが想定できます。
- レンタルサーバーの不具合
- WordPressの不具合
- 第三者からの攻撃やウイルス被害
- 自分の作業ミス
レンタルサーバーにバックアップの仕組みがある場合も、油断は禁物です。
バックアップソフトを開発しているAcronisも、2つ以上の場所にバックアップを保管することを勧めています。
最低でも2つの異なるメディアに バックアップを取る
データを守る3-2-1のバックアップルール|Acronis Cyber Backup

どうやってバックアップを取るのか?
バックアップが必要なもの
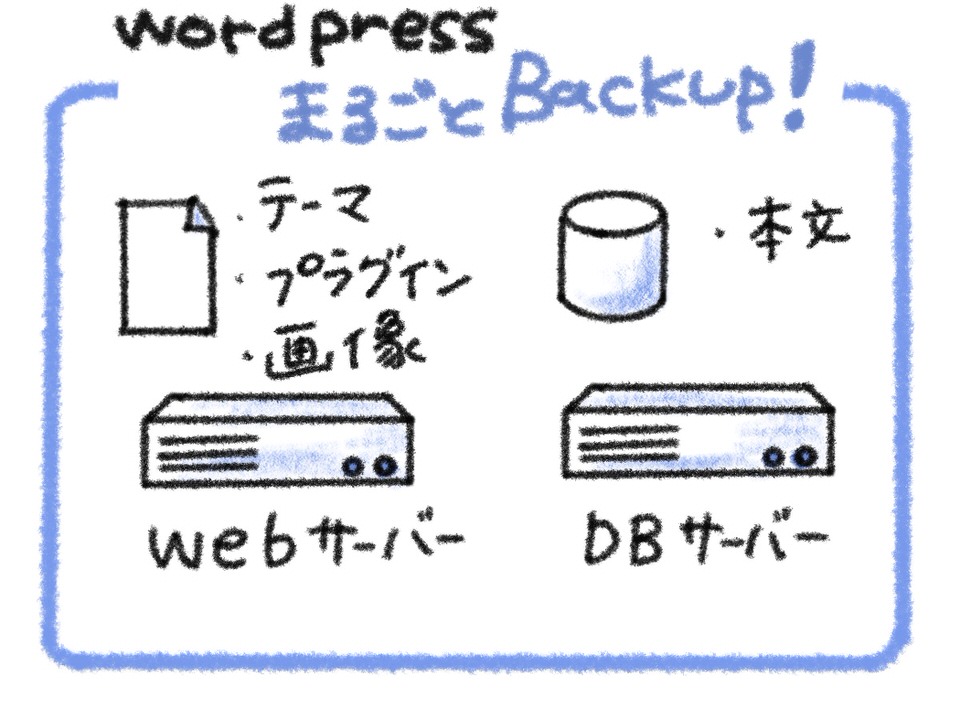
WordPressは、以下のデータで構成されています。
- Webサーバーにあるファイル(テーマ・プラグイン・画像など)
- DBサーバーにあるデータ(記事の本文など)
復元するためには、これらのデータが必要です。
まるごと定期バックアップができる便利なプラグインがあります。
プラグインを選ぶ
自動バックアップができるプラグインは、「UpdraftPlus」や「BackWPup」があります。
WordPress.org 日本語


UpdraftPlus: WP Backup & Migration Plugin
WordPress サイトを別のホストまたはドメインにバックアップ、復元、または移行します。バックアップをスケジュールするか、手動で実行します。数分で移行できます。
WordPress.org 日本語
BackWPup – WordPress バックアップ & 復元プラグイン
WordPress の完全なバックアップを簡単に作成できます。最良の WordPress バックアップ プラグインを使って、自動バックアップをスケジュールし、安全に保存し、簡単に復元…
どちらもカンタンで便利そうです。
今回は「UpdraftPlus」で実現します。
Google Driveに保存できるので、UpdraftPlusを選びました。
自動バックアップを設定する(所要時間:5分)
UpdraftPlusのインストール
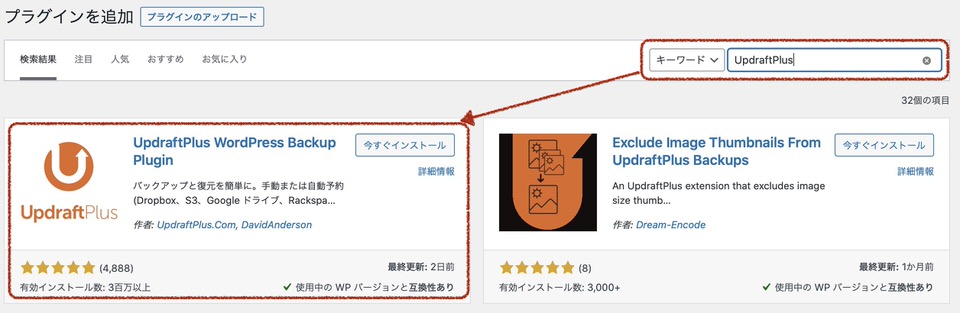
まずは、UpdraftPlusをインストールしましょう。
- WordPressの管理画面にログイン
- 「プラグイン」をクリック
- 「新規追加」をクリック
- 「UndraftPlus」で検索
- 「今すぐインストール」をクリック
- 「有効化」をクリック
カンタン!
UpdraftPlusの設定画面を開く
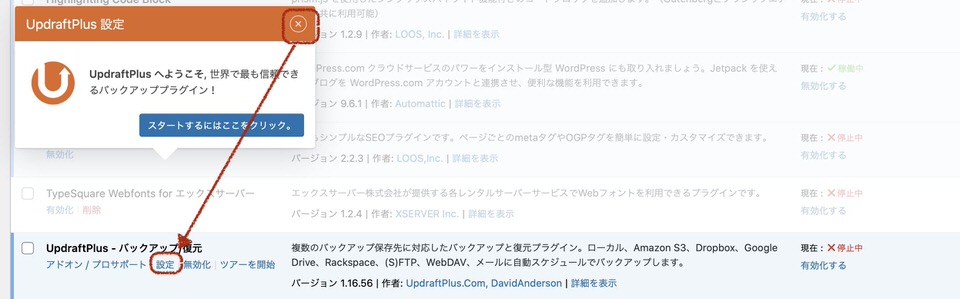
インストールが完了すると、下記のような画面が表示されます。
「スタートするにはここをクリック」は押さず、×で閉じてください。(クリックすると、使い方のツアーが始まります)
- プラグイン一覧にある「UpdraftPlus」の「設定」をクリック
自動バックアップの設定をする
- 「設定」タブを開く
- フルバックアップのスケジュールを設定する
- データベースバックアップのスケジュールを設定する
- 保存先で「Google Drive」をクリック
- 一番下にある「変更を保存」ボタンをクリック
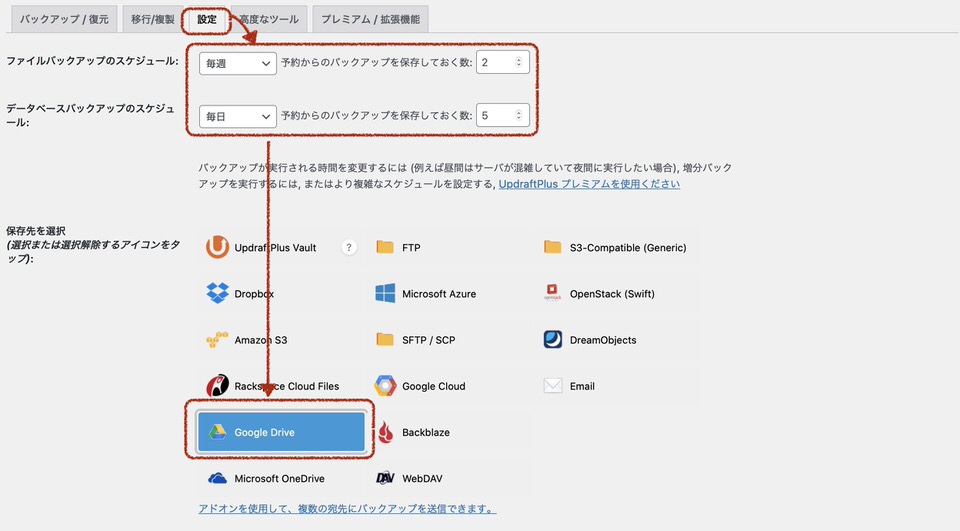
最適なスケジュールの設定値は、サイトの更新頻度によって変わります。
Google Driveへの認証
「変更を保存」ボタンをクリックすると、以下のようなダイアログが表示されます。
ここからGoogle Driveへの認証を進めていきます。
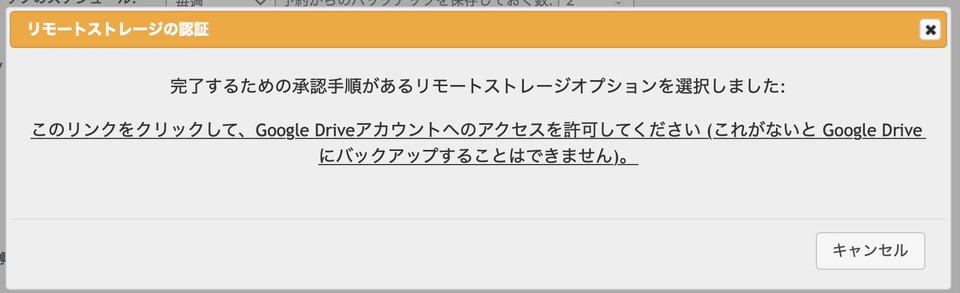
- 「このリンクをクリックして、Google Driveアカウントへの…」をクリック
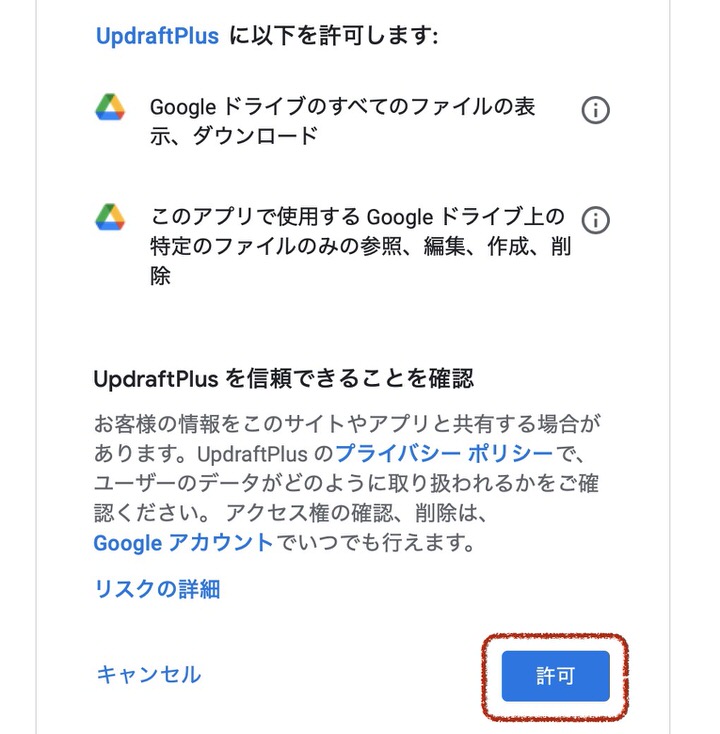
- UpdraftPlusに以下を許可します:は、「許可」をクリック
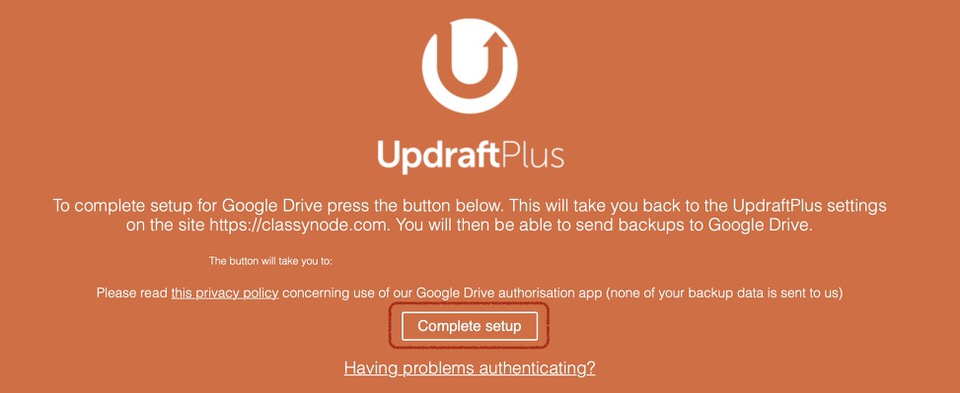
- 「Complete Setup」をクリック
とてもカンタン!

動作確認をする
GoogleDriveへの自動バックアップの設定ができました。手動バックアップで動作確認をしてみましょう。
- 「バックアップ/復元」タブをクリック
- 「今すぐバックアップ」ボタンをクリック
- もう一度、「今すぐバックアップ」ボタンをクリック

バックアップが成功すると、「バックアップ/復元」の画面に、既存のバックアップ一覧が表示されます。
これで安心。
まとめ
定期バックアップ・オンラインストレージへの保存の設定が、カンタンにできました。
サーバーにもしものことがあっても、最終バックアップの時点に復元できるようになりました。
最後まで読んでいただき、ありがとうございました。
みなさまの暮らしがより良くなりますように。